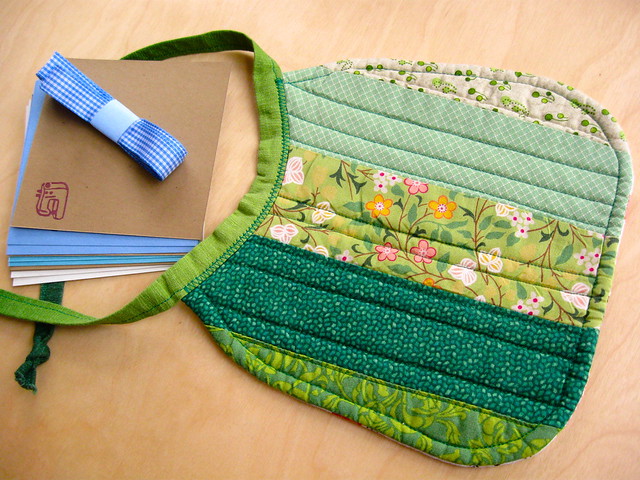
Housewarming Potholder

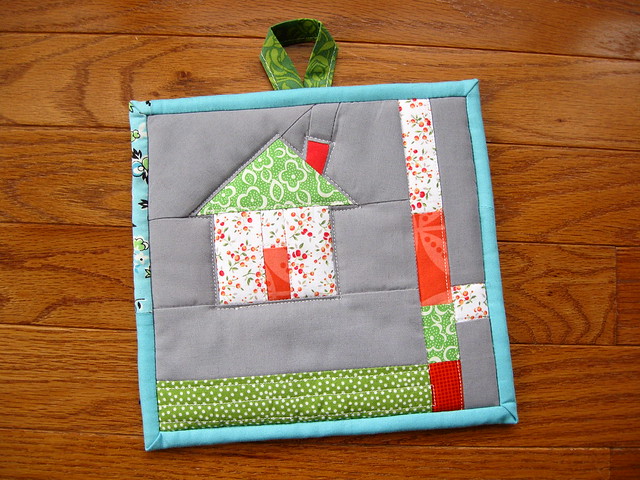
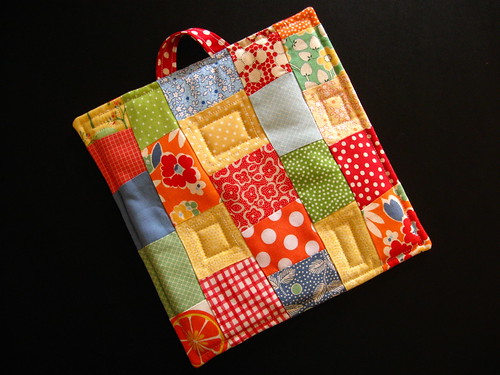
I used the tiny house block from my last tutorial to make this potholder for some friends that just bought a house. Their house doesn't have floral siding or roof, unfortunately.   

Penny helped me pick out the binding fabric at the workshop.  I can safely say that I never would have chosen the aqua without her help.  I used a layer of cotton batting and a chunk of felted sweater again.  This is the first time that I tried to do a standard binding with the felted wool.  
It was harder to sew, but I like the result.

housewarming potholder

So, if you could pick one fabric for the outside of your house, what would it be?

Workshop weekend

So, I told you that I went to a workshop in Colorado to learn mad sewing skillz from my quilty idol, Penny from sewtakeahike. I don't want to sound all star-crazed, but her creations rock. my. world. Check these out. (go ahead, click each word, I'll wait here.)

Well, the coolest thing about meeting Penny, is that she couldn't be sweeter in person. She was invested in teaching us what she taught herself to do over the past couple of years. And she helped us create the blocks that we pictured in our heads.  How cool is that?

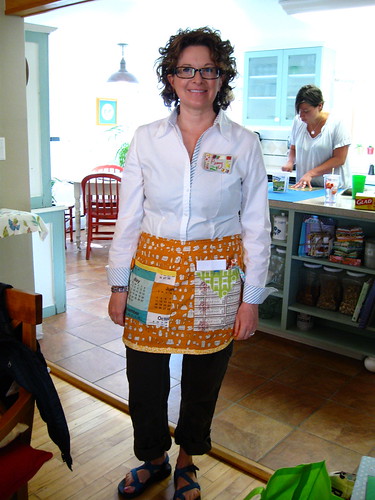
Also, how cute is her teacher-ly sewing apron?
Penny in her teacher apron


This workshop of six people (including the hostess, the amazing Tara of tinkerfrog--that's Tara at the counter behind Penny), was the perfect size for a sewing homebody like me. Amanda of crazy mom quilts was there as the other half of the Wisconsin contingent. And Audrey of audreypawdrey and Carmen of seaschell rounded out the group.


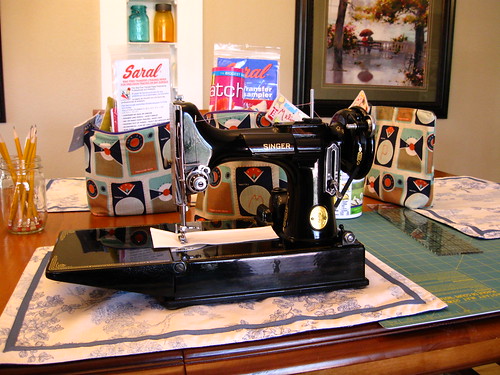
I didn't bring Margene out for the trip.  Instead, I got to borrow this little beauty for the weekend.
(Those fabulous bags in the background were our goodie bags 
for attending the workshop.  Seriously, Tara rocks.)


Practice paper piecing.
paper piecing practice


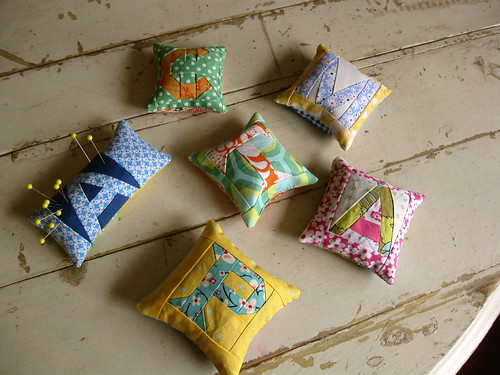
Paper pieced initial blocks turned into pincushions.  (Mine is the "M", of course.)
initial pincushions


I've been telling Ben so many stories from the weekend complete with funny quotes only a quilter would understand ("No scrap left behind," "You had me at scrappy," and "I think sewing curves is sexy.") that he has started imitating me with, "This one time, at quilting camp...."

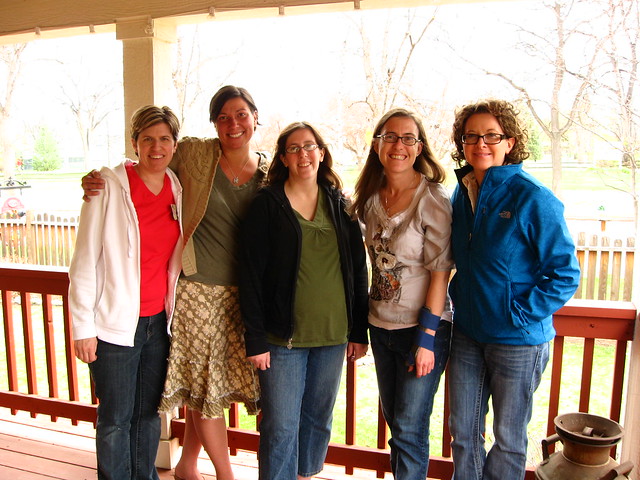
I don't care if I sound silly.  I had a fabulous time and I owe it all to these women (left to right, Amanda, Tara, Carmen, Audrey and Penny).
IMG_5831

I have more block photos from the weekend but you'll have to wait until next time. 

Appendix A: Adding a door and chimney.

This is a continuation of a my previous tutorial for making tiny house blocks.

***PHOTO DISCLAIMER***  I took these photos after dark and with no flash, 
so please pardon any colors that are "off" and ignore any blurriness.


Unlike my first tiny house tutorial, this time I didn't use the foundation paper at all.  I had the opportunity to try out a Singer Featherweight at the quilting workshop in Colorado.  The feed dogs (and the foot) on that machine were so narrow and the stitching was so straight 
that tear away paper wasn't needed.
sewing on the featherlight


Start with a 1 inch wide and 2 inch long  piece of house color and door color fabrics 
and stitch them together.
IMG_5793


Then add sections of house fabric on either side of the door.
IMG_5794


Sew some background color (medium Kona gray in this case) on either side of the house color.
IMG_5802

Then roughly trim the top and bottom edges of the block, 
knowing that you can always trim it smaller if needed.


Next, chose the roof fabric.
IMG_5803


For my block, I wanted a crooked little red chimney sticking out of that roof.  I had to start with sewing some background fabric on a piece of red solid.  Again, this piece is 1" wide.
IMG_5796


I wanted a chimney that was a little fatter at the top than the bottom.  So, I made my fabric a little crooked before sewing.  Also, I want a slanted roof with the chimney on the right.  Notice how the fabric on the right side of the chimney has to be longer than the chimney itself. 

Once you've sewn more background fabric on either side of the chimney piece,
set the ruler at the angle you like for the roof slope.  Trim off the extra fabric 
(being sure to leave enough for a seam allowance).
IMG_5806


Test out the house, with the roof fabric and the angle you cut your chimney/background fabric at.  Carefully flip back the chimney/gray section while keeping the same angle--but be sure to adjust your fabric slightly for the seam allowance.
IMG_5807


Lay your fabrics out again and follow the steps in the photo.
IMG_5808


Carefully follow these steps:
IMG_5808

then flip the left roof slope portion back and line it up 
so it overlaps your chalk line by 1/4".  
Sew with a 1/4" seam allowance.


 Use your ruler and rotary cutter to trim off the extra fabric.  Then press open and 
square up the roof portion of your block.
IMG_5809


Set your house portion on top of your roof portion very carefully.  Line the fabric up so you have the roof exactly as you want it to look.  Then set your ruler on top of that with the 1/4" line along the top edge of the house portion.  Carefully slide the house portion out without shifting 
the roof portion or the ruler....
IMG_5811


...then use your rotary cutter to trim off the excess fabric. 
IMG_5812


Sew the roof and house portions together, press, square the block with your ruler and rotary cutter
and admire your completed tiny house block! 
finished tiny house

Happy sewing to you.

Potholder exchange

I just got back from a fantastic weekend in Colorado. I was at Penny's (sewtakeahike) quilting workshop learning curved piecing, improv piecing and paper piecing. I was able to design and make two blocks that I'm crazy proud of. I want to share so much more about the amazing women and stunning sewing skills from the weekend, but I'm afraid I'm gushing too much already. So, you'll have to be patient for a post soon (after I settle down a bit).

Today I'll show you the potholder I made for the exchange that we did over the weekend. I constructed it much like this one and these two. I use a piece of felted sweater as insulation in my potholder. I don't like the crinkling of Insul Bright and wool is flame resistant. This block is the Map of the States block (from Oh, Fransson!).

So, before I reign myself in when I post again, have you ever had a chance to meet someone that really inspires you?  Someone you truly admire?  A quilter, knitter, author, musician, artist, anyone? Did you stammer, have sweaty palms or feel awkward? Or maybe that's just me....

Special Request

I've had a couple of requests lately for Henry photos on the blog.  It has been quite awhile.  He's much harder to capture on pixels now that he is constantly moving.  (He was outside in his pajamas at 9pm tonight, trying to shovel the driveway--despite no snow and 60˚ weather and past bedtime.) Also, the poor guy has been off and on sick for six. lousy. weeks. now.  I hope that next week can start a l-o-n-g fever-free, doctor-free, antibiotic-free time for him. 


Anyway, I caught some still-ish moments last weekend.

park 1
park 2


And Ben and I took him swimming on Sunday.

my blue eyed boys
pool 1


Alright. Now that the Henry fix is taken care of, it is back to craft posting tomorrow.

Swap Fun

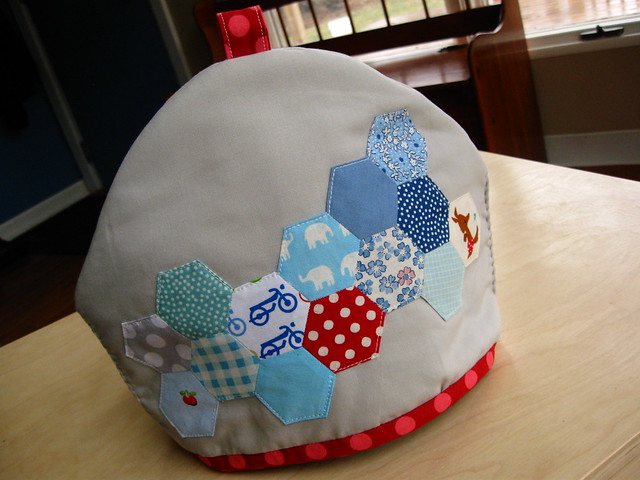
I just sent out a swap package to my partner in the Apron Extravaganza Swap.  I had some hexies laying around that were begging for a good home.  So, I designed a tea cozy to put them on.

tea cozy front

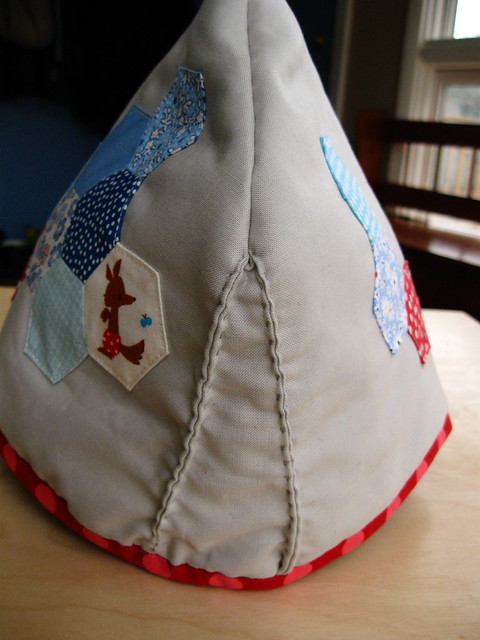
tea cozy back


I added a gusset and hand stitched the edge to make it stand out a bit more.
tea cozy gusset handsewing


And, a pieced lining.  The batting is doubled to keep the tea extra cozy (but the gussets are single layer so they would fold better).
tea cozy lining


My swapee has a young baby, so a bib seemed like the perfect kitchen swap extra (this is JCasa's Best Bib pattern).  The blue gingham ribbon is awfully cute...
swap extras


...and the cards are stamped with my carved sewing machine stamp.
handmade stamp for cards

Whew! I have some exciting things coming up next week, so it is a relief to get this swap done early. I'll be sure to post a pic of my swap items when they get here.


P.S.--If you want to get in on some sewing swap fun, I just joined the Pretty {little} Pouch Swap on flickr. It is full of talented ladies and sign ups close April 8th.

Tiny House Tutorial

I'm sure there are a ton of house block tutorials out there, but I'm looking for   ** TINY **   houses for my bee quilt.  Also, most of the wonderful ladies that are making blocks for me are new to quilting and haven't done any improv piecing.  So, I'll try my hand at a tutorial.  I do find it hard to describe improv piecing with directions.  By definition, improv is piecing in the moment, choosing fabrics that feel right next to each other and making mistakes and learning from them.  Or, at least that is my definition. :)

I want a tiny house block 4 1/2 " square, and I'm using the green color scheme to represent my house in this quilt.  I started first with the green seeds fabric on the bottom left and I cut it to 2"x3".  Then I decided to put some of the big green dots in between the seeds fabric and the bandana fabric.
IMG_5650


Sew them right side together on top of tear away foundation paper. Sewing such small pieces of fabric without foundation distorts their overall shape. The paper also helps secure the first stitch or two, so I don't get any thread tangles.
IMG_5652


Press the seam open. Then audition how wide the big dot fabric should be before I sew the bandana fabric on.
IMG_5654IMG_5655IMG_5653


Use a quilting ruler to cut the extra fabric off. First, fold the paper back. Then place the 1/4 seam dashed line where you want the seam, and then use the rotary cutter to trim the fabric that is past the edge of the ruler.
IMG_5656


Fold the foundation paper back open.  Sew a strip of background fabric (white) on the other side of the seed fabric.
IMG_5657


Sew the bandana fabric on the right edge of the big dot fabric.
IMG_5658


Press open. Then get out your ruler to determine where to cut the bandanda fabric to sew the background fabric (white) on.  I found that the background fabric needed to be 3/4" to 1" wide on either side to allow for a nice roof overhang.
IMG_5659


Cut the house portion of the block to the final width of 4.5" and 3" high. The roof portion of the block will  be 2" high when seam allowances are added in.
IMG_5661IMG_5660


Audition roof fabrics:
IMG_5662IMG_5663IMG_5664


I liked the pieced roof.  Therefore, sew together two strips of fabric (on another piece of foundation paper).
IMG_5665


Iron open, then trim that to 2" by 4.5".  Cut two pieces of background (white) fabric to 3.25" square. 
IMG_5673


Align one white square with the top left corner of the roof fabric (pin this together if you aren't too lazy to pin, like I am). Make a pencil mark where the bottom left corner of the roof fabric is.
IMG_5674


Using a small scrap of foundation paper (or a fabric scrap) sew a few stitches to anchor the thread. Leave the needle in the down position, lift the presser foot and align your fabric with that pencil mark you made. Then lower your presser foot and sew a freehand angle from that pencil mark to the top of the roof.
IMG_5675


Trim that seam allowance to 1/4".
IMG_5677


Press the white fabric open.
IMG_5676


Trim the extra white fabric off.
IMG_5678


Lay the second white square on and make your pencil mark again. Sew it the same way with a scrap to secure the thread, pencil mark right at the needle, freehand angle to the rooftop.
IMG_5679


Again, trim the seam allowance, press the fabric open and trim the excess fabric off.
IMG_5680


Tear the foundation paper off of the roof portion. Lay the roof portion of the block on top of the house part of the block. (Pin if you want to.) Sew that seam. Tear off the last of the foundation paper and press open. Ta-dah!!
IMG_5684
This is the block, 4 1/2" square.  I'll have about eighteen of them in the quilt. 
Here is the my inspiration gallery if you want other house shape ideas.

I can't wait to show off all of the house blocks as they come back to me from the bee.