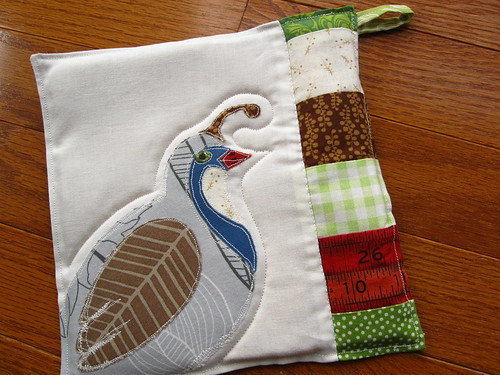
My double pointed knitting needles required a new and tidy home. I have a needle case with pockets but the pockets were too big for the little needles, too slippery to hold them in and I'd have to get out the needle guage and test four sets before I found the right size.
I just loved these batik fabrics together. The fabric behind the needles is recycled from a pair of my corduroy pants.
If you want to make one of your own, you will need:
11 x 17"
each of fabric for behind the needles (now called backing fabric) and the outside fabric
one 6 x 17" piece for the pocket fabric
17" of twill tape and a narrow piece of fusible webbing
two 6 x 16.5" pieces of fabric for the flap
Steps:
1. fold 3/8" of the top edge of the pocket fabric under and fold it one more time. press and then sew the edge. then fuse the twill tape to the top edge of the pocket fabric with an iron
2. mark the pocket widths with chalk and a ruler first, then embroider the numbers for the pockets with an embroidery hoop and floss.
Pocket widths:
start measuring 1/2" in from the edge to allow room for stitching the layers together
size 0--2cm
size 1--2.25
size 2--2.25
size 3--2.5
size 4--3cm
size 5--3cm
size 6--3.25
size 7--3.25
size 8--3.5
size 9--3.5
extra pocket #1--3cm
extra pocket #2--3cm
extra pocket #3--2.5
there should be at least another 1/2" on this edge for stitching the layers together (I have a very tiny pocket left on mine but it will hold a small crochet hook perfectly)
3. pin the pocket fabric to the backing fabric and sew lines to divide the pockets, backstitching carefully at the top edge of the pockets
4. take the flap pieces and stack them
right sides together, pin and sew around 3 sides (2 short sides and one long side, turn inside out and press
5. now stack the backing and pocket piece right side up, place the flap on that with it aligned where you want it on the finished piece, lastly place the outside fabric on top with the
right side down and pin around the perimeter. sew around the edges with a 3/8" seam allowance and
leaving a 3" gap to turn project right side out. be sure not catch the short sides of the flap in your seam or it will not open.
6. turn project right side out and press. press the edges of the gap to align them with what has already been sewn.
* topstitch around the entire perimeter 1/4" from the edge. fill with needles and enjoy!
* if you want your needle case to have a label, an elastic and button closure, or ties, here is where you would tuck the label/ties/elastic hairband into the seam gap
before doing the topstitching.
Be aware that this is my first attempt at a tutorial. If you have any questions , or if it doesn't make sense, please ask.

