Showing posts with label EPP. Show all posts

Patchwork Death Star Pattern

The pattern is posted to my blog. Link in my profile. Please please tag it #patchworkdeathstar.  I'd love to see it.

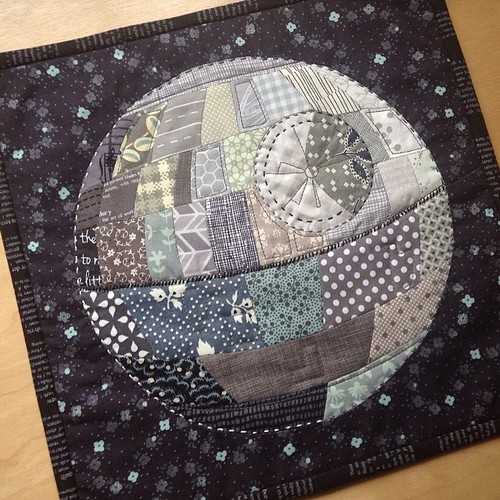
I was hoping to post this a couple of days ago, but it turns out that I'm not very tech savvy.  Thank goodness I finally pulled it together.  Here is the link for the pdf file for the free pattern and some instructions.

I have a couple of pictures that I took along the way that I'll post here.  If you do make a patchwork Death Star please please please post a link for me to see.  If you are on IG, please tag it #patchworkdeathstar.  Thanks!  I can't wait to see different versions.  I originally dreamed of this all in tiny Libery florals.  Wouldn't that be cool?

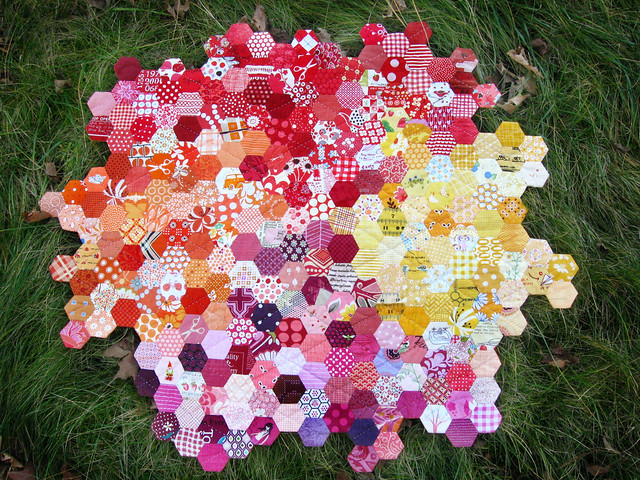
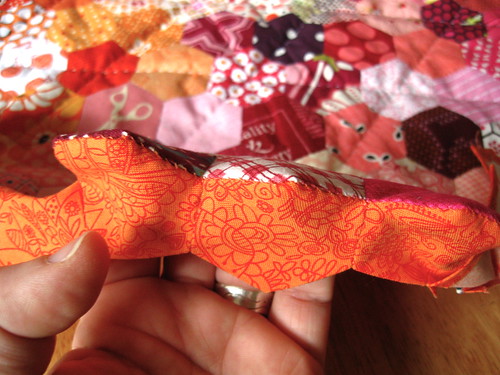
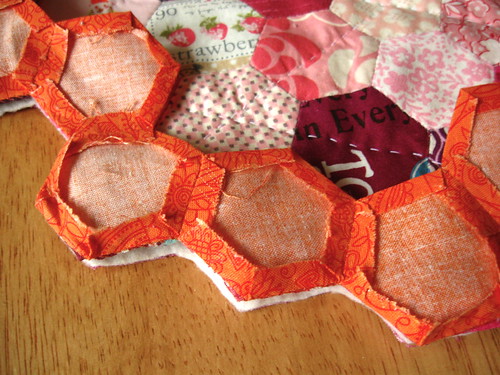
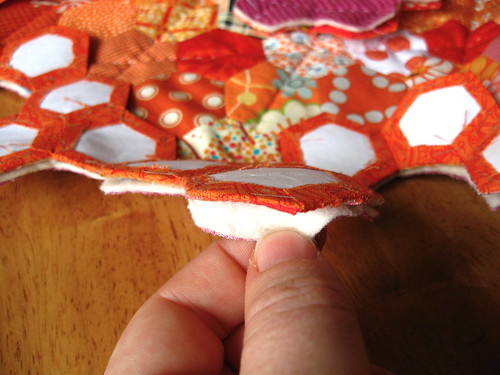
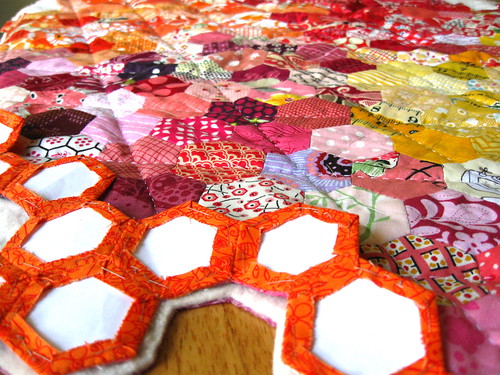
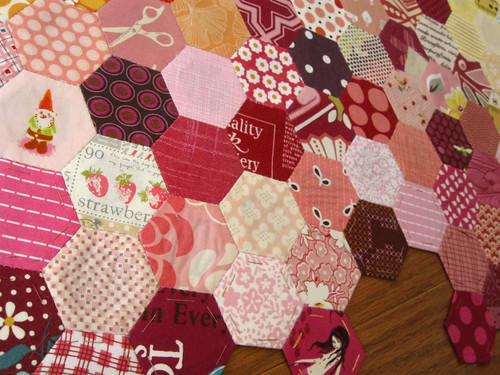
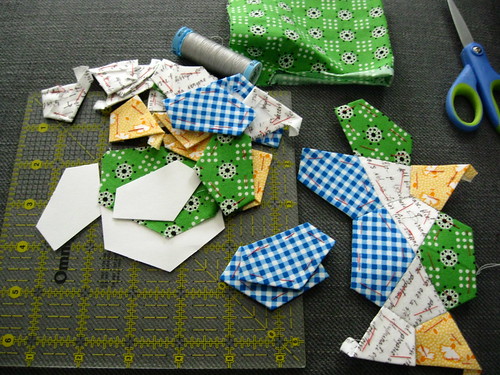
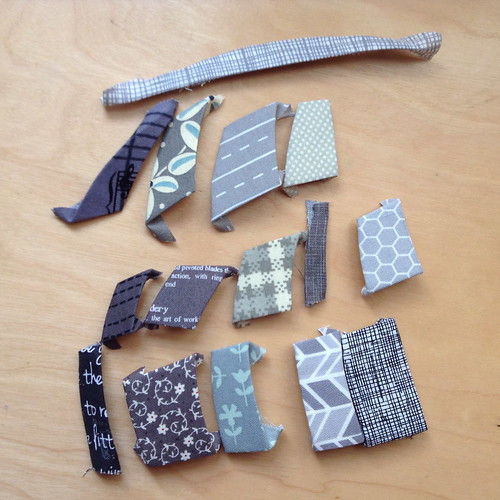
Well anyway, here is a shot of a few of my pieces after glue basting.
basted


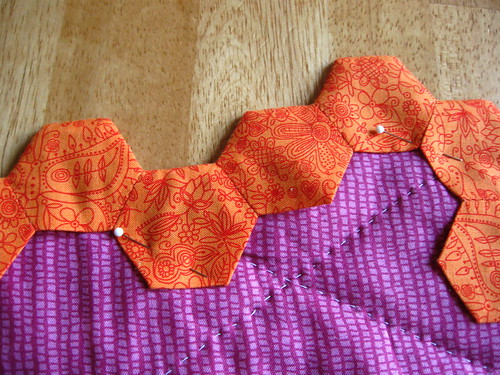
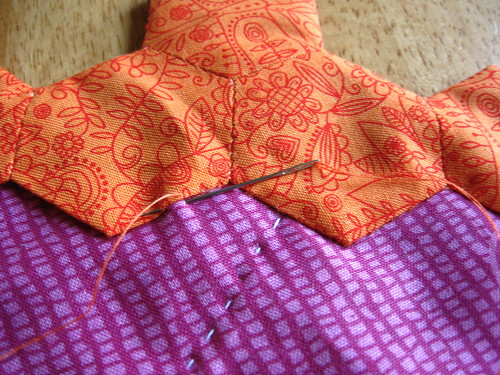
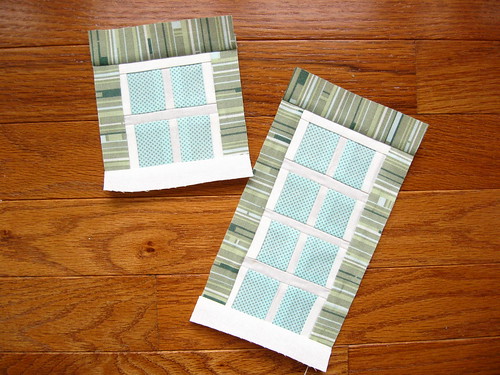
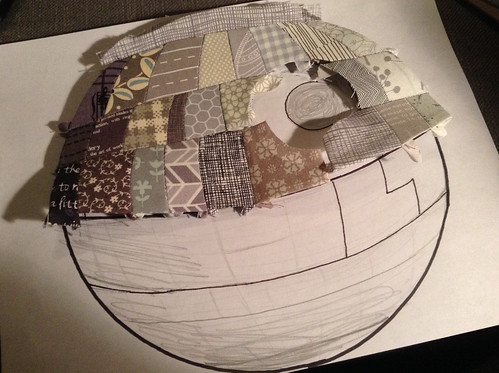
And here is a picture of the top half pieced and sitting on top of my first drawing of it. 
In process

The final pattern will make an 11x12" block.  The perimeter fabric can easily be made larger by extending the paper pattern.  The Death Star itself could be made bigger by bringing the pdf printouts to a copy store and enlarging them.

May the force be with you. 

Confirmation that I'm a geek

(As if you needed it.)

I sent this mini quilt off to a friend last week.  It is a Patchwork Death Star.

Patchwork Death Star


The inspiration for it started when my friend, Blair, sent me this most fabulous embroidery hoop.

I got a super sweet gift from the uber talented @silentblair.


Perhaps, more accurately, it started much earlier when we started talking about how smooth Lando Calrissian is.  Once it was determined that we were both Star Wars fans, the pins and tags just kept flying.  She is super sweet and talented so she made me that hoop of awesomeness up above.

It is really, really hard to craft for awesome crafters.  It took me a l-o-n-g time to decide what my theme would be.  And then I was stuck on making the Death Star all in florals.  It turns out that I didn't have enough small scale florals for my idea and getting the right value changes was going to be impossible.  But I have gray fabric up the wazoo.  Once I decided to do the pattern with English paper piecing things went pretty smoothly.  Some advice from Melissa and Jessie helped, too.

I really didn't think that there would be many people who would want to make a Patchwork Death Star of their very own.  But the requests for a pattern have been pretty insistent.  I still need to finalize how to print the pattern out, but I hope to have it up tomorrow. 

Have you ever shown your geeky side in your quilting?

The State of the Hexies

I worked on my blue hexies while on vacation. 

blue


And then I ran across this picture from two years ago and I thought it might be useful to see an update of all of my colors of hexies.

sewing together


My red, pink, purple, orange and yellow hexies went into the hexie quilt. But the cool and neutral ones are still in progress.

green

white cream gray

 aqua

Hand stitching can be too slow for blogging sometimes, but doing an update every year or two makes it look like I'm getting somewhere.

Do you have any hand stitching projects that you've been plugging away at for a year or more?  Do you have a harder time sharing them on your blog because they are so slow moving?

Blogger's Quilt Festival--Spring 2013

If you are new to my little corner of the blog universe, welcome.  I'm thrilled to share one of very favorite quilts with the Blogger's Quilt Festival--Warm

hexie quilt finished!


This quilt measures roughly 32 x 28 inches, and is made of 258 different 1" hexies of my favorite  stash fabrics.  It is hand basted, hand pieced, hand quilted, and hand bound with an extra 76 hexies, just to finish the uneven edge.  I used a unique method from Amy of badskirt


This quilt was a labor of so much fabric and stitchy love that I'm so so proud to have it hanging on my wall in my sewing room.

beginning

hexie project


hexie quilt edging


hexie quilt edging


Now go check out some of the other amazing submissions to the festival!


AmysCreativeSide.com

I submitted my quilt in the Wall hanging Quilts Category.

Flitting like a butterfly

Henry has recently fallen in love with The Very Hungry Caterpillar all over again.  And now we play "cocoon" twenty times a day.  I ask him to "lay down like a caterpillar" on the couch, cover him completely in a quilt and then flip the quilt back as we declare the he is a "beautiful butterfly!!"  We are still working on the graceful sweep of the arms to mimic wings flapping.  I think (at nearly four years old) that this is his first pretend play and I am so proud.

Anyway, I was thinking about that as I flitted between sewing projects today.  I was trying to decide what I should work on next.  I could continue my progress on my rose star blocks.

last night

yesterday

day before yesterday


Or I could finish Charise's Paris-themed bee block for the Ringo Pie Bee (those darned y-seams have me procrastinating).

last week


Or I could decide what solid to use to put a border on this long-overdue quilt top.  (You'd think I could be bothered to iron this quilt top before taking a picture and sharing it here, but no.) 

a couple of weeks ago


Or I could work on piecing some blocks for my husband's quilt.  (It sure was fun to come up with the new fabric combinations.)

this afternoon


Well, this butterfly will settle on something soon. Maybe some more hand piecing tonight and continue to procrastinate on the bee block? Hmmm...

 How do you decide what to work on next?

Catching up to the curve

I was sick most of last week and then I was just behind the curve of life for a few days after that.  But I'm finally feeling better and ready to share a few photos here.

This is a block I made over a week ago for Cynthia in the Pastiche Bee.  She asked for old school graphic design art supplies.  I fear there isn't enough contrast between the prints for the background and the arms of the compass, but I think some targeted quilting could take care of that.  

Compass block


I made this Farmer's Wife block over a week ago, too.  It is a remake of this block.  Just four more blocks to go!

farmer's wife sampler, block 64


I've been working on the quilting for my Mommy Neighborhood quilt for a few weeks now.  It will take a l-o-n-g time to put all of the quilting in that I want.

intense hand quilting


And, lastly, when I was feeling too crummy to sit at the machine or to wrestle with perle cotton, I've been working on expanding my green hexies.  I cut out another 100 hexies for this project.  I think I may have too many green fabrics....

expanding green


So what's new with you? It has been too long since we chatted.  :)

Hexie Quilt Process

If you never ever ever want to make a hexie quilt with uneven edges, please pardon this photo heavy post.  I took pictures of each step for those that might be curious.  I used the tutorial by Amy badskirt.  I am so grateful that Amy blogged about the steps she took and that one of my dear quilting friends (I can't remember which one. Please let me know if it was you.) pointed me to the tutorial.  I love the shape of this quilt exactly as is and I really, really didn't want to make it into a rectangle.

So, instead, I tortured myself with sewing more hexies.

Here is the top, sandwiched, quilted and the batting trimmed.

hexie quilt edging


Then I made another 76 hexies for the border on the back.

hexie quilt edging


I whipstiched them together to mirror the edge of my quilt...

hexie quilt edging


...and then whipstitched the edge hexies to the quilt top hexies all around the border.

hexie quilt edging


The next step is important: I heavily starched and ironed all of the border hexies.  And then I took out the threads and papers and flipped the border over to the back. 

hexie quilt edging


I carefully poked out all of corners and ironed it again and then pinned the edge hexies to the back of the quilt.

hexie quilt edging


And, lastly I stitched the other edge of the hexies down. 

hexie quilt edging


Here is a sneak peek at the front of the quilt with the uneven edge.  The quilt is drying now (after I washed all of that starch out).  I'll put a finished photo up soon.

hexie quilt edging

Hand stitching away...

hexie project

I feel very close to finishing this hexie wall quilt.  English paper piecing, thread basted, hand quilted and now hand stitching a row of orange hexies as an edge treatment before I flip them to the back of the quilt.  I'm watching seasons one and two of Downton Abbey again to keep my stitching time pleasant. 

Are you stitching anything by hand these days?  I'd love to hear about it.

Stop the presses!

Whoa!  Can it be the first of the month and I haven't missed it?!  Shocking.  For those that don't know, the 1st of every month is Fresh Sewing Day over at Lily's Quilts.  And I have quite a bit of September sewing to display.

Fresh Sewing Day

There are so many favorites in there.  Even the batik quilt, which was sorely neglected for 4 years is now on my list of favorites because my mom will love it and I'm so happy to get it out of my sewing space.  I'd like to get back to the Farmer's Wife project in October, but the siren song of the hexies is still calling me.  We'll see.  And we'll see when I next remember to participate in Fresh Sewing Day.  Now click on over and check out all of the other yummy sewing that has been done in September!
Lily's Quilts

If you are up for a little more trivia about me, check out my 50 Questions photo over on flickr today. I was tagged by a friend to answer the questions and then tagged another batch of friends. 

Color studies

First off, I want to say thank you for the extra patience that was sent this way the past few days.  Ben gets home tomorrow night.  I think there are 30-ish hours left.

I still don't have a lot to say, but I've been stitching one inch hexies to keep my sanity.  I thought I'd share some color shots with you.

Orange
orange

Pinky-purple
pink

Red
red

Gotta run. I think there is a dinosaur roaring in the next room, but I'll be stitching again after his bedtime.

Making progress

I'm behind on replies to comments, but be assured that I appreciate each and every one of them.  In fact, I think they have motivated me to finishing a few more projects that have been sitting on my to do list.

Here is my Pastiche Bee block for March.  Suzanne is a teacher and wanted vintage school and office supply blocks.  She specifically mentioned wanting a block with her glasses frames.  She thinks they look school marm-ish but I think they look cool.  It took me forever to decide how I wanted to do the background for the glasses on her block.  but as soon as I settled on piecing hexies for the background, the block was done in three days.

for suzetra in pastiche bee


And Charise, in the Cocorico Bee, wants house blocks.  I had to start with the windows because I love old window panes.  In high school I spent a summer working at a historical park stripping and repainting the old buildings.  I didn't enjoy all of the detailed woodwork around the windows then--picture 90 degrees in the sun, wearing a gas mask and using a heat gun to strip the old lead paint off of the woodwork.  But I old windows and woodwork now.  My favorite thing is to be inside an old building and looking through the glass to see the ripples and flow and how that changes your view of the outside world. 

it's a start


Well, I'm off to plan and start a few more bee blocks that I'm behind on. Thank you for the supportive comments lately.  They were just the kick in the pants that I needed. :)

One day at a time

Thank you to all that sent supportive messages after my last post. It makes a big difference to get sweet notes on rough days. Thank you.

I'm trying to take a little time each day for some hand stitching.  I'm participating in the Rose Star Block Party with the tutorial from selfsewn.

Days 1 and 2:

days 1 and 2

Day 3:

day 3

Day 4:

day 4

Day 5:

day 5

So...even if it feels like I'm getting nowhere with the phone calls and trying to find appointments, I am making some progress every day. 

Done!

IMG_7465

This project comes from Rashida Coleman-Hale's book, i love patchwork. It is a ball made entirely by English Paper Piecing. I did the hand stitching on it last year--before I knew better. Now I know that 8-10 stitches per inch is enough. At the time, I was constantly worried that it would fall apart, so I did more like 25-35 stitches per inch. This thing is never coming apart. Which is good. I'm sending it to a friend to welcome her second baby. I reclaimed a rattle from another thrifted toy and placed that rattle inside this ball. So baby will play with it, and older sibling might get in on the fun and test those stitches, too. 

IMG_7464